만약 내가 self-made 합성된 텍스트 이미지 generator가 필요했다면... [8] 을 들어가서 get_generator() 함수를 확인해보면 essential_generators.DocumentGenerator() 을 핵심적인 요소로 사용하는 것을 알 수 있다. [9] 에서 sentence()를 통해 문장을 출력 및 생성한다. 이 API가 한글을 지원하는지 확실하지 않다. (문제 발생!!)
선택지 1> 저수준으로 작성된 ibm text generator 를 응용하여 사용
선택지 2> Synthtext data generator 깃헙 사용
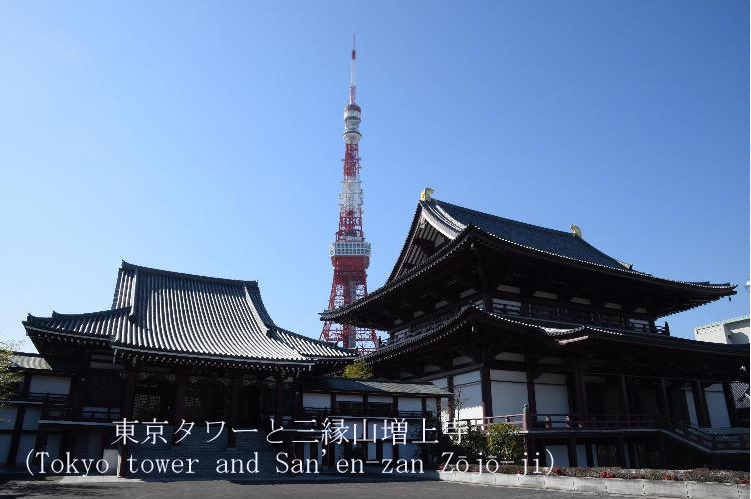
가능성 1.저수준으로 작성되어 있는 ibm text generator를 활용한다. 사용할 원본 코드는[10]에서 확인해보자. 원본 코드는 글자 수준으로 하나씩 이미지를 만든다. 우리가 원하는 출력 이미지를 만들기 위해선 "배경 이미지 위에 문장 단위로 한글을 쓸 수 있게" 해야 한다.[11]에서 이미지 위에 텍스트 쓰는 방식을 확인해보자.(핵심만 접은 글에 정리해둠)
# -*- coding: utf-8 -*-
from PIL import Image, ImageDraw, ImageFont

# get a font
#   This example is for Windows (7, etc.).
#   If you use Unix-like system, fonts are found at
#   for example "/usr/share/fonts".
#fnt = ImageFont.truetype('c:/Windows/Fonts/msmincho.ttc', 30)
fnt = ImageFont.truetype('msmincho.ttc', 30)

img = Image.open("data/srcimg12.jpg")  # open base image
dctx = ImageDraw.Draw(img)  # create drawing context

# multiline text to draw
txt = u"""\
東京タワーと三縁山増上寺
(Tokyo tower and San'en-zan Zōjō-ji)"""

# calculate text size
spacing = 2
txtsz = dctx.multiline_textsize(txt, fnt, spacing=spacing)

# draw text
dctx.multiline_text(
    # draw text at near (left, bottom)
    (20, img.height - txtsz[1] - 20),
    txt,
    font=fnt,
    fill="#eeeeff",
    spacing=spacing,
    align="center"
    )

del dctx  # destroy drawing context

img.save("result/ImageDraw_multiline_text_01.jpg")
(content와 theta만 일단 정의했는데, base.paste 중 box의 x,y 좌표도 인자로 만들어야 할듯 --> 함수화 진행)
컴퓨터에 기본적으로 있는 폰트를 확인하기 위해선 "C:\Windows\Fonts" 경로를 확인해보자. 기초적인 뼈대 코드는 만들어져서 조금만 더 생각해보면 함수화도 할 수 있고 텍스트 이미지 생성기도 만들 수 있을 것 같은데 너무나 귀찮다.대충 pseudo-code 식으로 생각해보면 이렇다:
def generate_text_image(theta, content, number_of_texts):
theta = random.randint(-30, 30) # 적당히 30도 정도만 꺾고
content = _generate_content()
number_of_texts = random.randint(0, 10)
# get fonts and background images somehow
for i in range(number_of_texts):
base_image.paste(text_image, some_coordinates)
x1, y1, x2, y2, x3, y3, x4, y4 = util_func_returning_coordinates()
util_func_checking_out_of_boundary()
yield image, coordinates # where coordinates are in the form of ((x1, y1), (x2, y2), (x3, y3), (x4, y4), c)
def _generate_content(whatever_input):
return sentence_in_korean
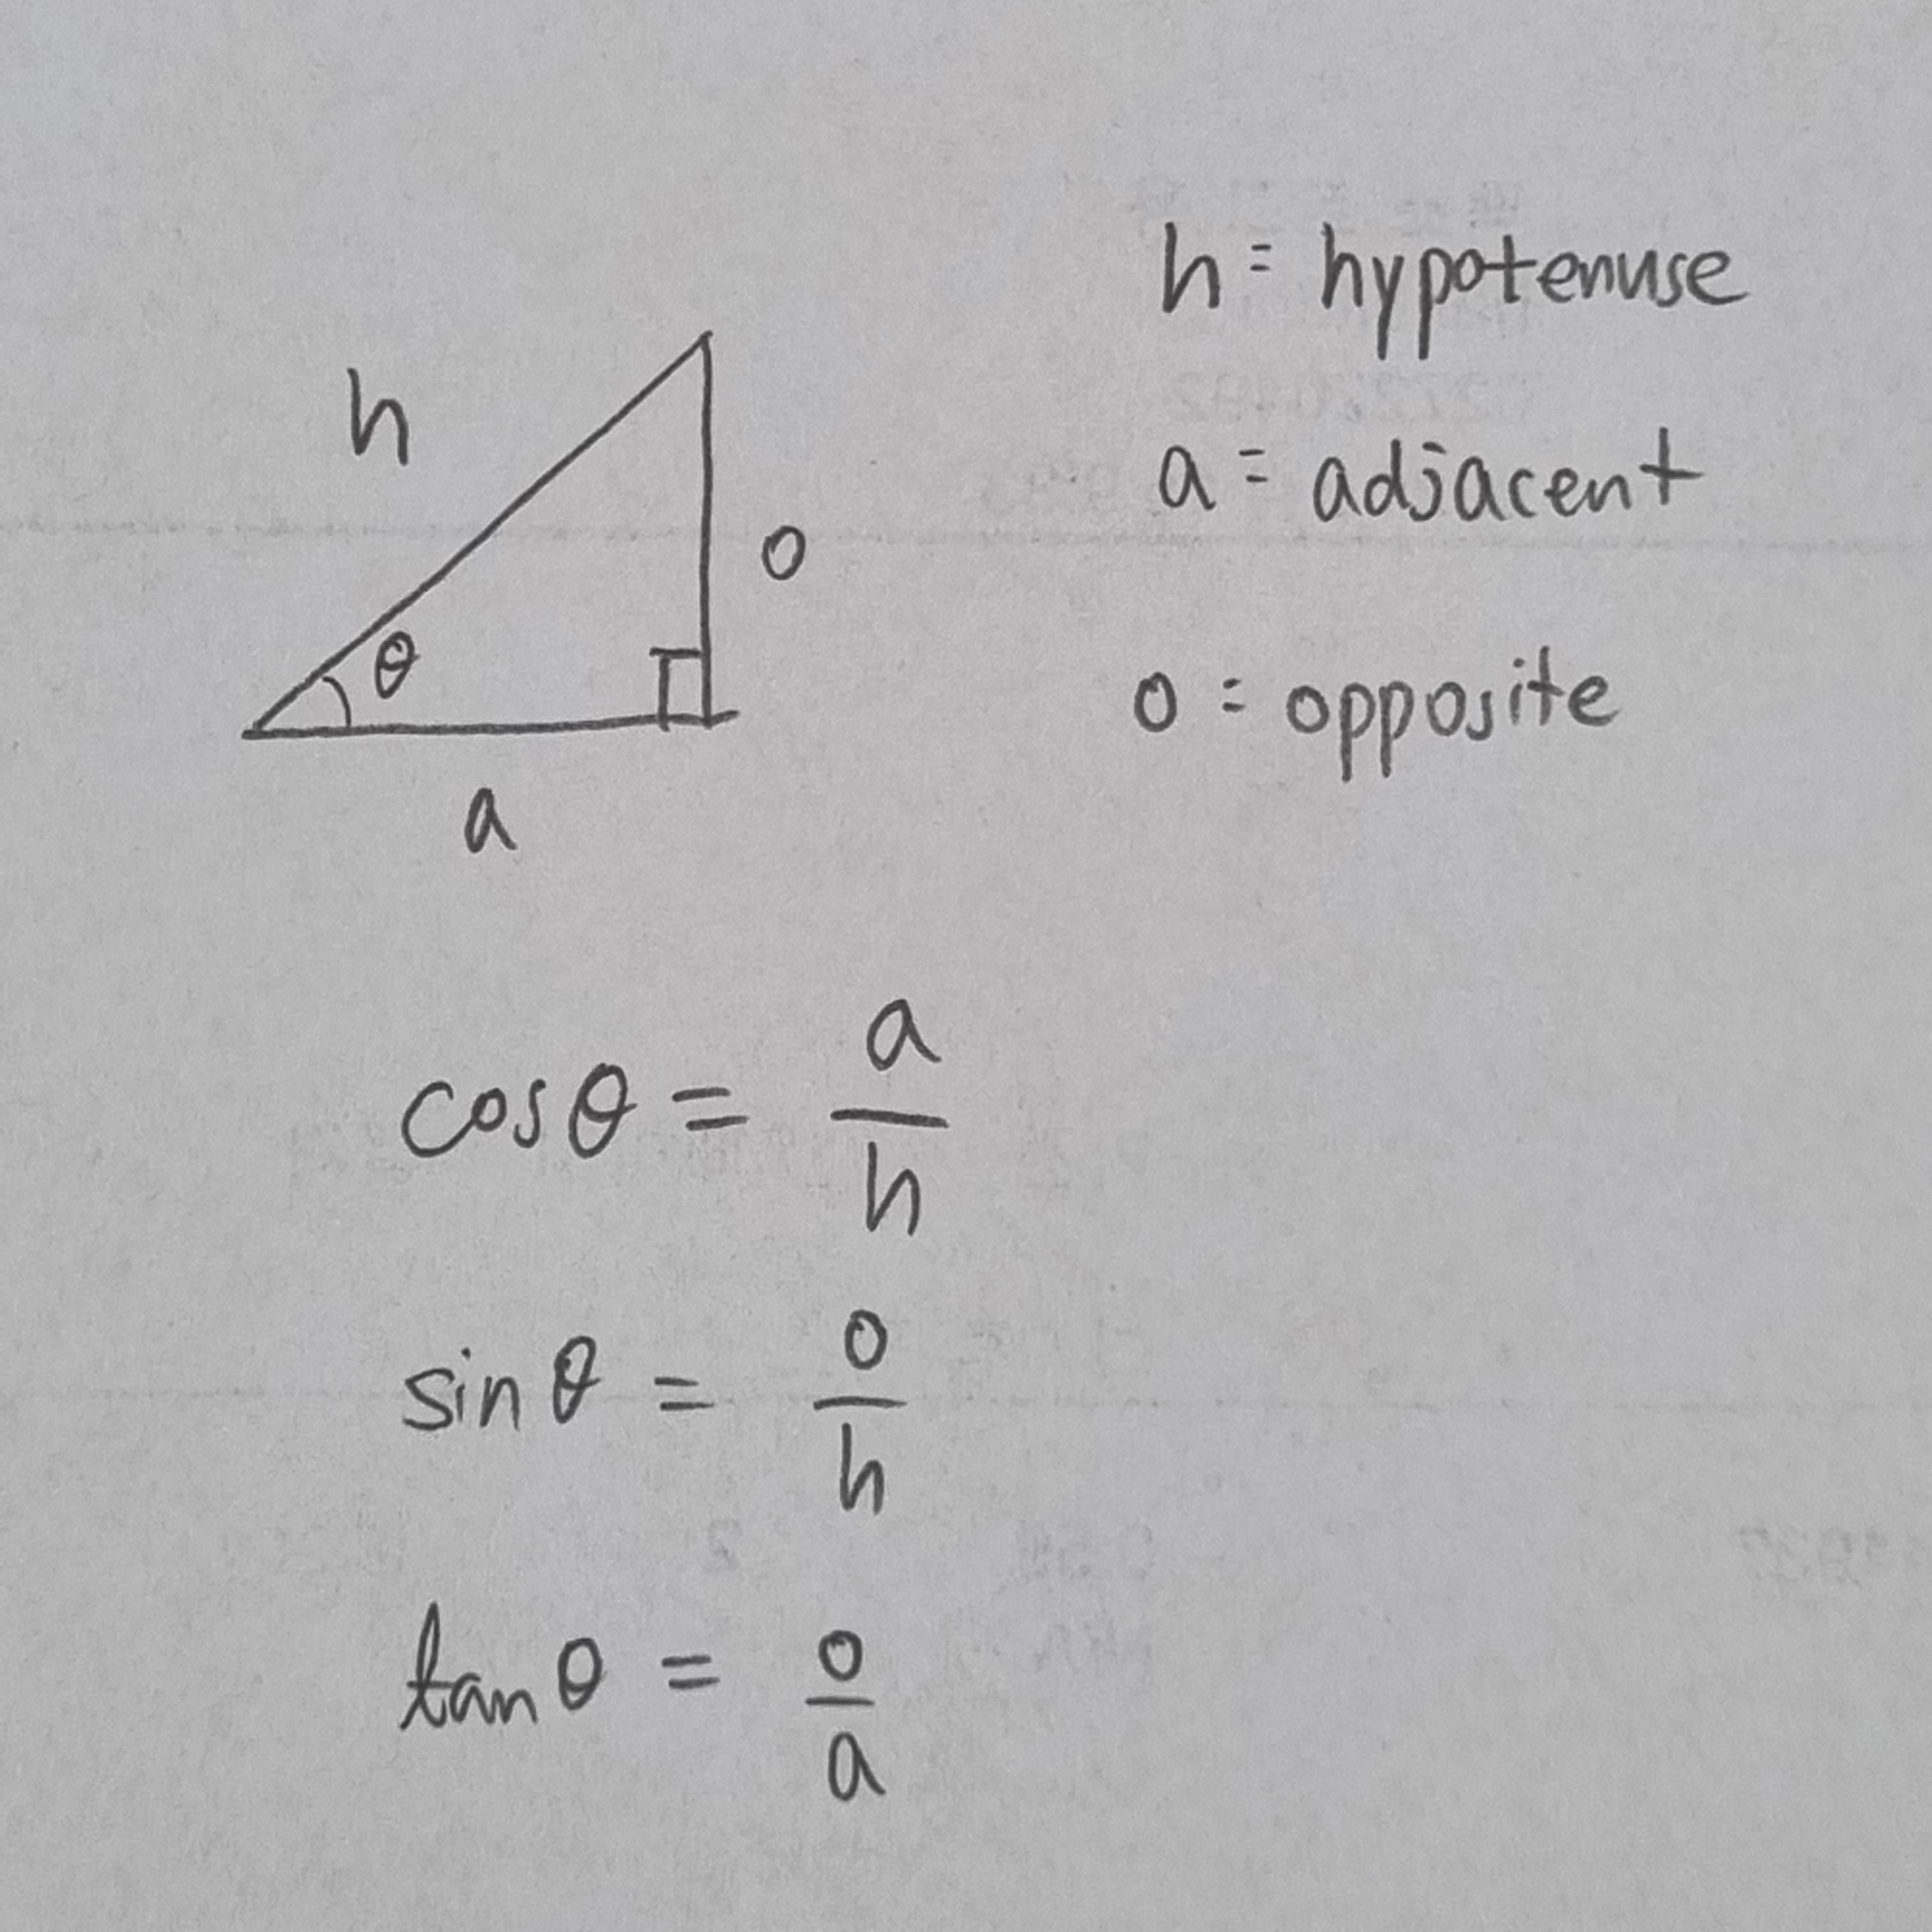
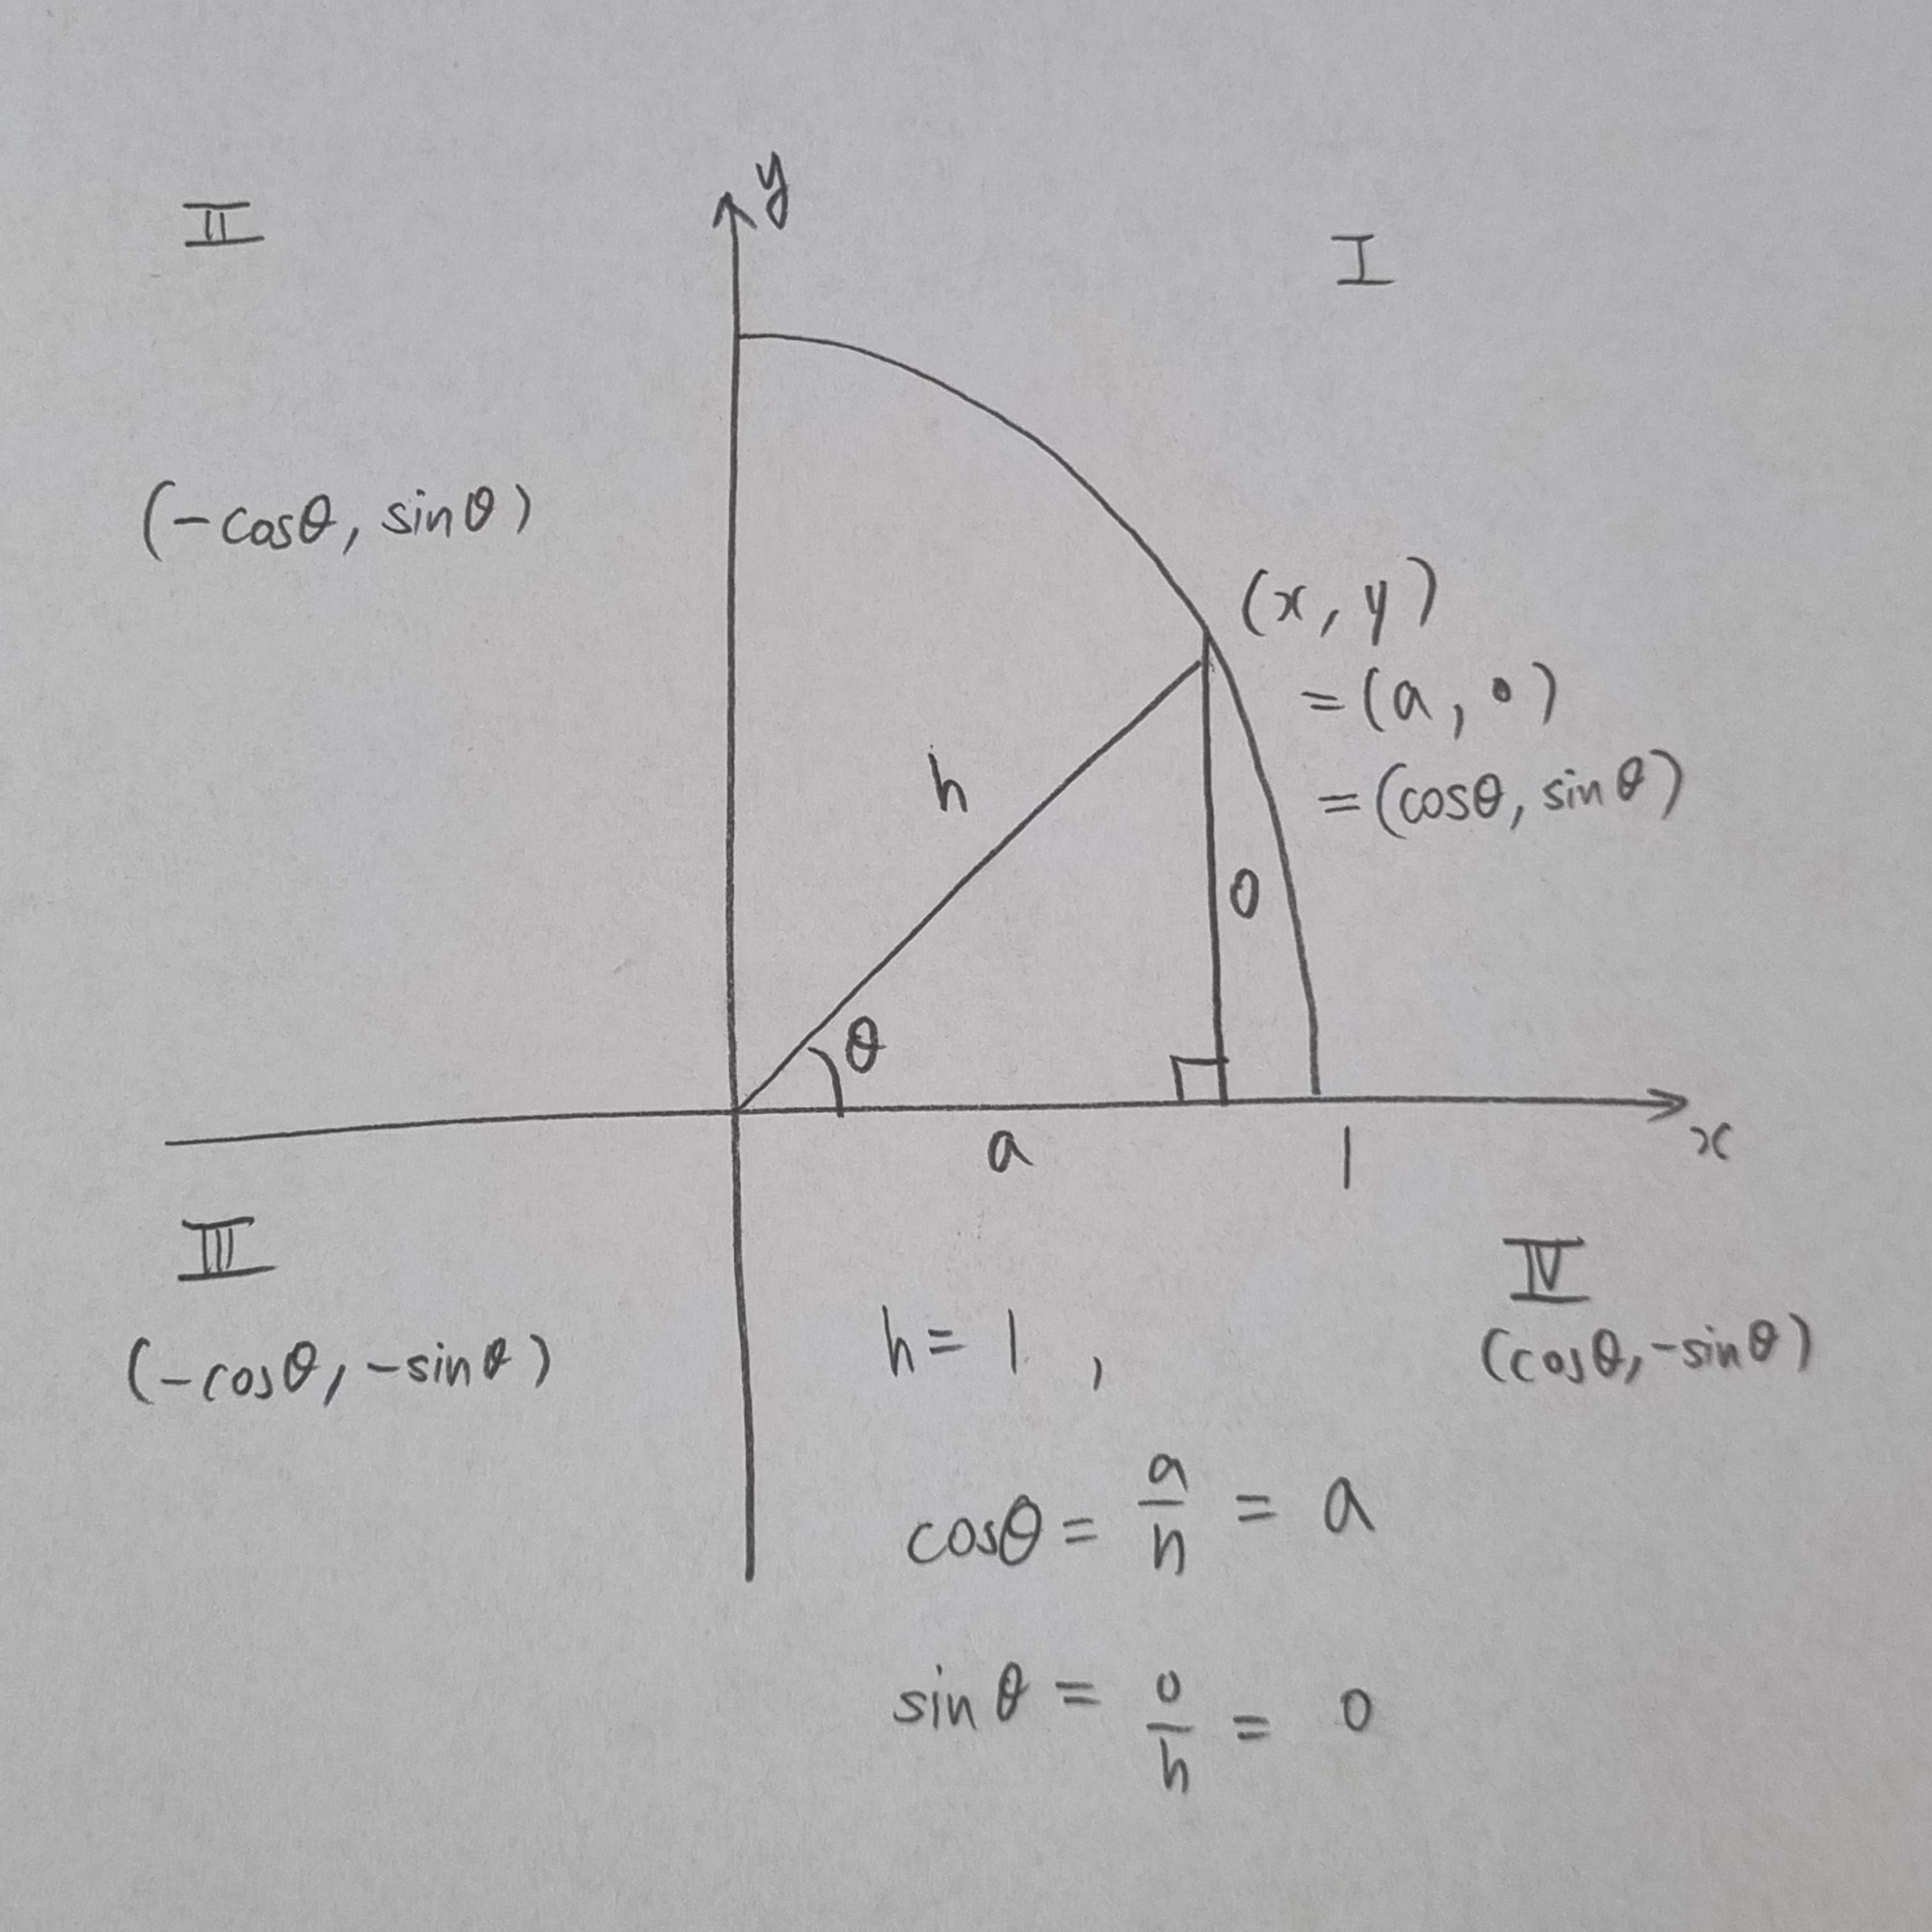
def util_func_returning_coordinate():
some_math_for_rotation_matrix
# something like rotX = np.array([[1, 0, 0], [0, np.cos(thetaX), -np.sin(thetaX)], ...blablabla)
return x1, y1, x2, y2, x3, y3, x4, y4
#!/usr/bin/env python

import argparse
import glob
import io
import os
import random

import numpy
from PIL import Image, ImageFont, ImageDraw
from scipy.ndimage.interpolation import map_coordinates
from scipy.ndimage.filters import gaussian_filter


SCRIPT_PATH = os.path.dirname(os.path.abspath(__file__))

# Default data paths.
DEFAULT_LABEL_FILE = os.path.join(SCRIPT_PATH,
                                  '../labels/2350-common-hangul.txt')
DEFAULT_FONTS_DIR = os.path.join(SCRIPT_PATH, '../fonts')
DEFAULT_OUTPUT_DIR = os.path.join(SCRIPT_PATH, '../image-data')

# Number of random distortion images to generate per font and character.
DISTORTION_COUNT = 3

# Width and height of the resulting image.
IMAGE_WIDTH = 64
IMAGE_HEIGHT = 64


def generate_hangul_images(label_file, fonts_dir, output_dir):
    """Generate Hangul image files.
    This will take in the passed in labels file and will generate several
    images using the font files provided in the font directory. The font
    directory is expected to be populated with *.ttf (True Type Font) files.
    The generated images will be stored in the given output directory. Image
    paths will have their corresponding labels listed in a CSV file.
    """
    with io.open(label_file, 'r', encoding='utf-8') as f:
        labels = f.read().splitlines()

    image_dir = os.path.join(output_dir, 'hangul-images')
    if not os.path.exists(image_dir):
        os.makedirs(os.path.join(image_dir))

    # Get a list of the fonts.
    fonts = glob.glob(os.path.join(fonts_dir, '*.ttf'))

    labels_csv = io.open(os.path.join(output_dir, 'labels-map.csv'), 'w',
                         encoding='utf-8')

    total_count = 0
    prev_count = 0
    for character in labels:
        # Print image count roughly every 5000 images.
        if total_count - prev_count > 5000:
            prev_count = total_count
            print('{} images generated...'.format(total_count))

        for font in fonts:
            total_count += 1
            image = Image.new('L', (IMAGE_WIDTH, IMAGE_HEIGHT), color=0)
            font = ImageFont.truetype(font, 48)
            drawing = ImageDraw.Draw(image)
            w, h = drawing.textsize(character, font=font)
            drawing.text(
                ((IMAGE_WIDTH-w)/2, (IMAGE_HEIGHT-h)/2),
                character,
                fill=(255),
                font=font
            )
            file_string = 'hangul_{}.jpeg'.format(total_count)
            file_path = os.path.join(image_dir, file_string)
            image.save(file_path, 'JPEG')
            labels_csv.write(u'{},{}\n'.format(file_path, character))

            for i in range(DISTORTION_COUNT):
                total_count += 1
                file_string = 'hangul_{}.jpeg'.format(total_count)
                file_path = os.path.join(image_dir, file_string)
                arr = numpy.array(image)

                distorted_array = elastic_distort(
                    arr, alpha=random.randint(30, 36),
                    sigma=random.randint(5, 6)
                )
                distorted_image = Image.fromarray(distorted_array)
                distorted_image.save(file_path, 'JPEG')
                labels_csv.write(u'{},{}\n'.format(file_path, character))

    print('Finished generating {} images.'.format(total_count))
    labels_csv.close()


def elastic_distort(image, alpha, sigma):
    """Perform elastic distortion on an image.
    Here, alpha refers to the scaling factor that controls the intensity of the
    deformation. The sigma variable refers to the Gaussian filter standard
    deviation.
    """
    random_state = numpy.random.RandomState(None)
    shape = image.shape

    dx = gaussian_filter(
        (random_state.rand(*shape) * 2 - 1),
        sigma, mode="constant"
    ) * alpha
    dy = gaussian_filter(
        (random_state.rand(*shape) * 2 - 1),
        sigma, mode="constant"
    ) * alpha

    x, y = numpy.meshgrid(numpy.arange(shape[0]), numpy.arange(shape[1]))
    indices = numpy.reshape(y+dy, (-1, 1)), numpy.reshape(x+dx, (-1, 1))
    return map_coordinates(image, indices, order=1).reshape(shape)


if __name__ == '__main__':
    parser = argparse.ArgumentParser()
    parser.add_argument('--label-file', type=str, dest='label_file',
                        default=DEFAULT_LABEL_FILE,
                        help='File containing newline delimited labels.')
    parser.add_argument('--font-dir', type=str, dest='fonts_dir',
                        default=DEFAULT_FONTS_DIR,
                        help='Directory of ttf fonts to use.')
    parser.add_argument('--output-dir', type=str, dest='output_dir',
                        default=DEFAULT_OUTPUT_DIR,
                        help='Output directory to store generated images and '
                             'label CSV file.')
    args = parser.parse_args()
    generate_hangul_images(args.label_file, args.fonts_dir, args.output_dir)
가능성 2. Synthtext data generator for Korean [13] 깃헙을 활용하여 바로 데이터를 생성한다.